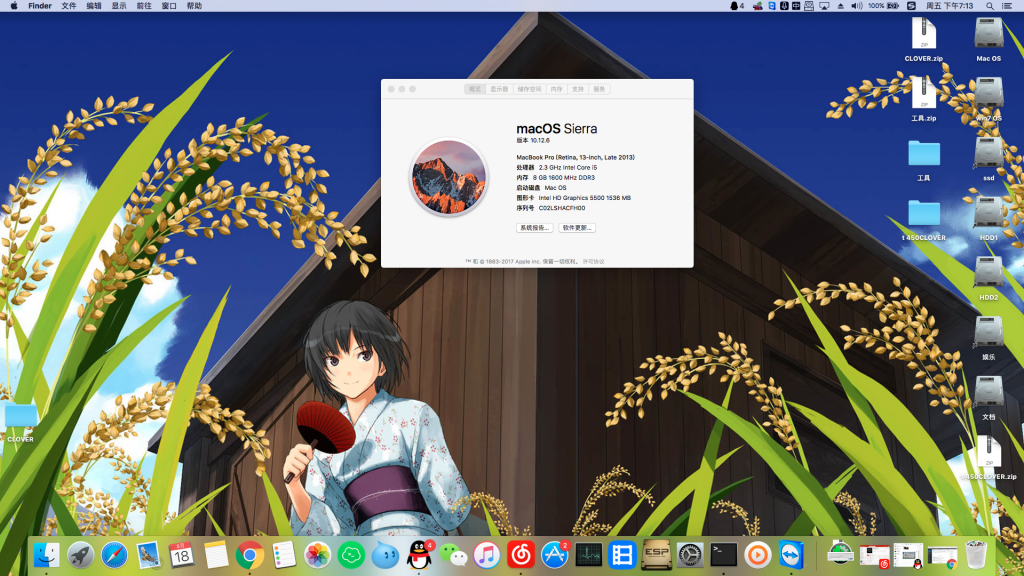
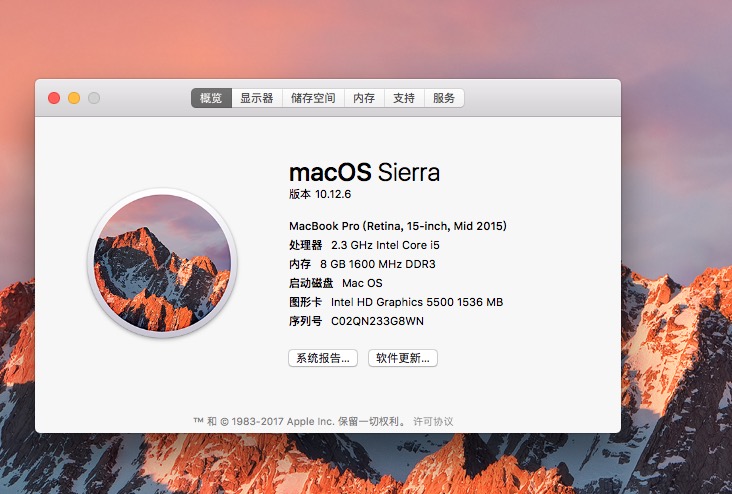
上一张装好的图!
付T450专用clover引导文件链接: https://pan.baidu.com/s/1-DqtpD3-ikTQnjTWg3NLng 密码: qsc6
完成度97%:
1、蓝牙无线不工作,除非刷bios白名单后换网卡否则无解;
2、触摸板上面三个按键无效,小红点无效(懒得研究);
3、摄像头不工作。
其他一切正常!

懒人镜像链接:http://bbs.pcbeta.com/viewthread-1750692-1-1.html
分区及U盘制作安装盘及安装选项参考:http://www.cnblogs.com/SemiconductorKING/p/6536888.html
安装过程参考:https://www.bilibili.com/video/av11731480/?from=search&seid=14481217765847568277
硬盘CLOVE引导双系统参考:http://bbs.pcbeta.com/viewthread-1585927-1-1.html
感谢以上人员的付出与分享!
所需工具合集: 链接: 密码: crgn
大致过程:
1.主板BIOS设置Only UEFI引导,系统盘全局 GPT分区,ESP分区大小需大于200M,正常装入win7 X64 UEFI;
2.macos硬盘分区留80GB,到磁盘管理器分配卷标而不格式化;
3.根据教程利用TransMac制作macos安装盘,制作完成后先把二次补丁解压到桌面,利用TransMac打开制作好的安装盘根目录,补丁文件直接拖进去,会看到有 __MACOSX 文件夹在里面,其他文件是隐藏的;
4.重启电脑选择U盘启动,进入到CLOVE引导,选择大概Install macos 10.12.6 之类的选项,跑代码过后,苹果进度条,之后进入安装界面;
5.首先利用选择 “磁盘工具”,点“继续”,然后找到你之前准备好的那个分区,抹掉,格式选择Mac OS Extended(Journaled),抹掉叉了磁盘工具,就可以选择安装macOS;
6.等大约13分钟安装完成,会自动重启,重启依旧选择u盘启动,选择boot for macOS Sierra 之类的,就会进入到黑苹果系统;
7.向导设置完后 就会进入到桌面了,声卡网卡都有驱动,显卡无驱动 需要自己折腾,关于CLOVER硬盘引导双系统请参考上面链接。
关于显卡驱动
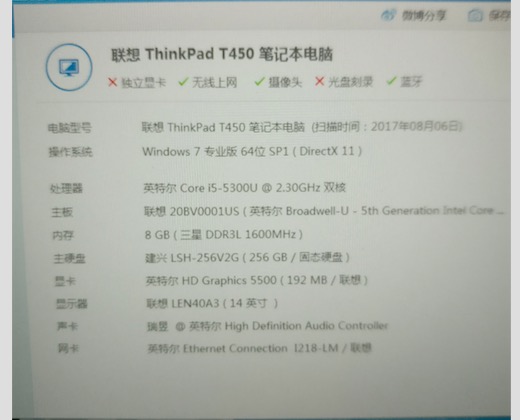
由于本人机子是美行的,并没有独显,所以只需驱动HD5500显卡,这就要修改Clover下的config配置文件了;一番搜索,发现 http://www.ithtw.com/8335.html 此处有非常详细的介绍!
我直接贴出来吧:
<?xml version="1.0" encoding="UTF-8"?>
<!DOCTYPE plist PUBLIC "-//Apple//DTD PLIST 1.0//EN" "http://www.apple.com/DTDs/PropertyList-1.0.dtd">
<plist version="1.0">
<dict>
 <key>ACPI</key>
 <dict>
 <key>DSDT</key>
 <dict>
 <key>Debug</key>
 <false/>
 <key>Fixes</key>(这部分就是所说的DSDT Fixes 模板里默认全都为不开启 即False 开启则改为<true/>)
 <dict>
 <key>AddDTGP_0001</key>
 <false/>
 <key>AddHDMI_8000000</key>
 <false/>
 <key>AddIMEI_80000</key>
 <false/>
 <key>AddMCHC_0008</key>
 <false/>
 <key>AddPNLF_1000000</key>
 <false/>
 <key>DeleteUnused_400000</key>
 <false/>
 <key>FIX_ACST_4000000</key>
 <false/>
 <key>FIX_ADP1_800000</key>
 <false/>
 <key>FIX_INTELGFX_100000</key>
 <false/>
 <key>FIX_RTC_20000</key>
 <false/>
 <key>FIX_S3D_2000000</key>
 <false/>
 <key>FIX_TMR_40000</key>
 <false/>
 <key>FIX_WAK_200000</key>
 <false/>
 <key>FakeLPC_0020</key>
 <false/>
 <key>FixAirport_4000</key>
 <false/>
 <key>FixDarwin_0002</key>
 <false/>
 <key>FixDisplay_0100</key>
 <false/>
 <key>FixFirewire_0800</key>
 <false/>
 <key>FixHDA_8000</key>
 <false/>
 <key>FixHPET_0010</key>
 <false/>
 <key>FixIDE_0200</key>
 <false/>
 <key>FixIPIC_0040</key>
 <false/>
 <key>FixLAN_2000</key>
 <false/>
 <key>FixRegions_10000000</key>
 <false/>
 <key>FixSATA_0400</key>
 <false/>
 <key>FixSBUS_0080</key>
 <false/>
 <key>FixShutdown_0004</key>
 <false/>
 <key>FixUSB_1000</key>
 <false/>
 <key>NewWay_80000000</key>
 <false/>
 </dict>
 <key>Name</key>
 <string>DSDT.aml</string>
 <key>ReuseFFFF</key>
 <false/>
 </dict>
 </dict>
 <key>Boot</key>
 <dict>
 <key>Arguments</key>
 <string></string> (在这里添加启动参数 如-v npci=0x2000等等 具体请看对应项目介绍)
 </dict>
 <key>Devices</key>
 <dict>
 <key>FakeID</key> (FakeID 仿冒ID部分)
 <dict>(格式:0x[DevID][VenID] 如100268E4仿冒成100268E0则为0x68E01002 /1002为Ven|68E0为Dev/)
 <key>ATI</key>
 <string>0x0000</string>
 <key>IMEI</key>
 <string>0x0000</string>
 <key>IntelGFX</key>
 <string>0x0000</string>
 <key>LAN</key>
 <string>0x0000</string>
 <key>NVidia</key>
 <string>0x0000</string>
 <key>SATA</key>
 <string>0x0000</string>
 <key>WIFI</key>
 <string>0x0000</string>
 <key>XHCI</key>
 <string>0x0000</string>
 </dict>
 <key>USB</key>
 <dict>
 <key>AddClockID</key>
 <false/>
 <key>FixOwnership</key>
 <false/>
 <key>HighCurrent</key>
 <false/>
 <key>Inject</key>
 <false/>
 </dict>
 </dict>
 <key>GUI</key>
 <dict>
 <key>Scan</key>
 <true/>
 <key>Theme</key>(主题设置,必须有,否则Clover界面就是各种小方块)
 <string>black_green</string>
 </dict>
 <key>Graphics</key>(显卡部分,重中之重!!!)
 <dict>
 <key>CustomEDID</key>
 <string>_NOT_SHOWN_</string>
 <key>DualLink</key>(高分屏请注意此选项)
 <integer>1</integer>
 <key>FBName</key>
 <string></string>
 <key>Inject</key>(显卡注入选项,默认全为False即不注入)
 <dict>
 <key>ATI</key>
 <false/>
 <key>Intel</key>
 <false/>
 <key>NVidia</key>
 <false/>
 </dict>
 <key>InjectEDID</key>(注入EDID)
 <false/>
 <key>LoadVBios</key>(读取显卡BIOS)
 <false/>
 <key>PatchVBios</key>(修正引导界面扁苹果等问题)
 <false/>
 <key>ig-platform-id</key>
 <string>0x0000</string>
 </dict>
 <key>KernelAndKextPatches</key>
 <dict>
 <key>AppleRTC</key>(AppleRTC打补丁防CMOS重置)
 <false/>
 <key>AsusAICPUPM</key>(修复部分机型的电源管理问题)
 <false/>
 <key>Debug</key>
 <false/>
 <key>KernelCpu</key>(部分CPU可能需要此参数,具体请看对应项目讲解)
 <false/>
 <key>KernelLapic</key>(HP机器可能需要此参数,具体请看对应项目讲解)
 <false/>
 <key>KernelPm</key>(Haswell防重启补丁)
 <false/>
 <key>KextPatchesAllowed</key>
 <true/>
 <key>KextsToPatch</key>
 <array/>
 </dict>
</dict>
</plist>
善用Ctrl+F功能,由于需要驱动显卡 ,那就是要修改Graphics 部分的参数了;
刚好
| <key>Graphics</key> | |
| <dict> | |
| <key>ig-platform-id</key> | |
| <string>0x16260006</string> | |
| <key>Inject</key> | |
| <dict> | |
| <key>ATI</key> | |
| <false/> | |
| <key>Intel</key> | |
| <true/> | |
| <key>NVidia</key> | |
| <false/> | |
| </dict> | |
| <key>InjectEDID</key> | |
| <false/> | |
| </dict> |
先把HD5500的配置文件下载下来,之后把里面显卡参数文件直接贴到引导分区Config里面的显卡参数处,重启进入macos,完成!

如果还是不行请把HD5500kext压缩包里面0文件文件夹的kext文件放入ESP分区的EFI/Clover/kext目录下!